
From the outside, coffee cupping might seem like a strange ceremony cloaked in mystery. Coffee enthusiasts sipping and slurping a line up of brews, all from a peculiarly shaped spoon. Despite the ritualistic appearance, cupping is a scientific process and an objective way to compare different varieties, origins and roast profiles in the specialty coffee industry. The method of cupping coffee is universal, and is designed so that it can be replicated anywhere.
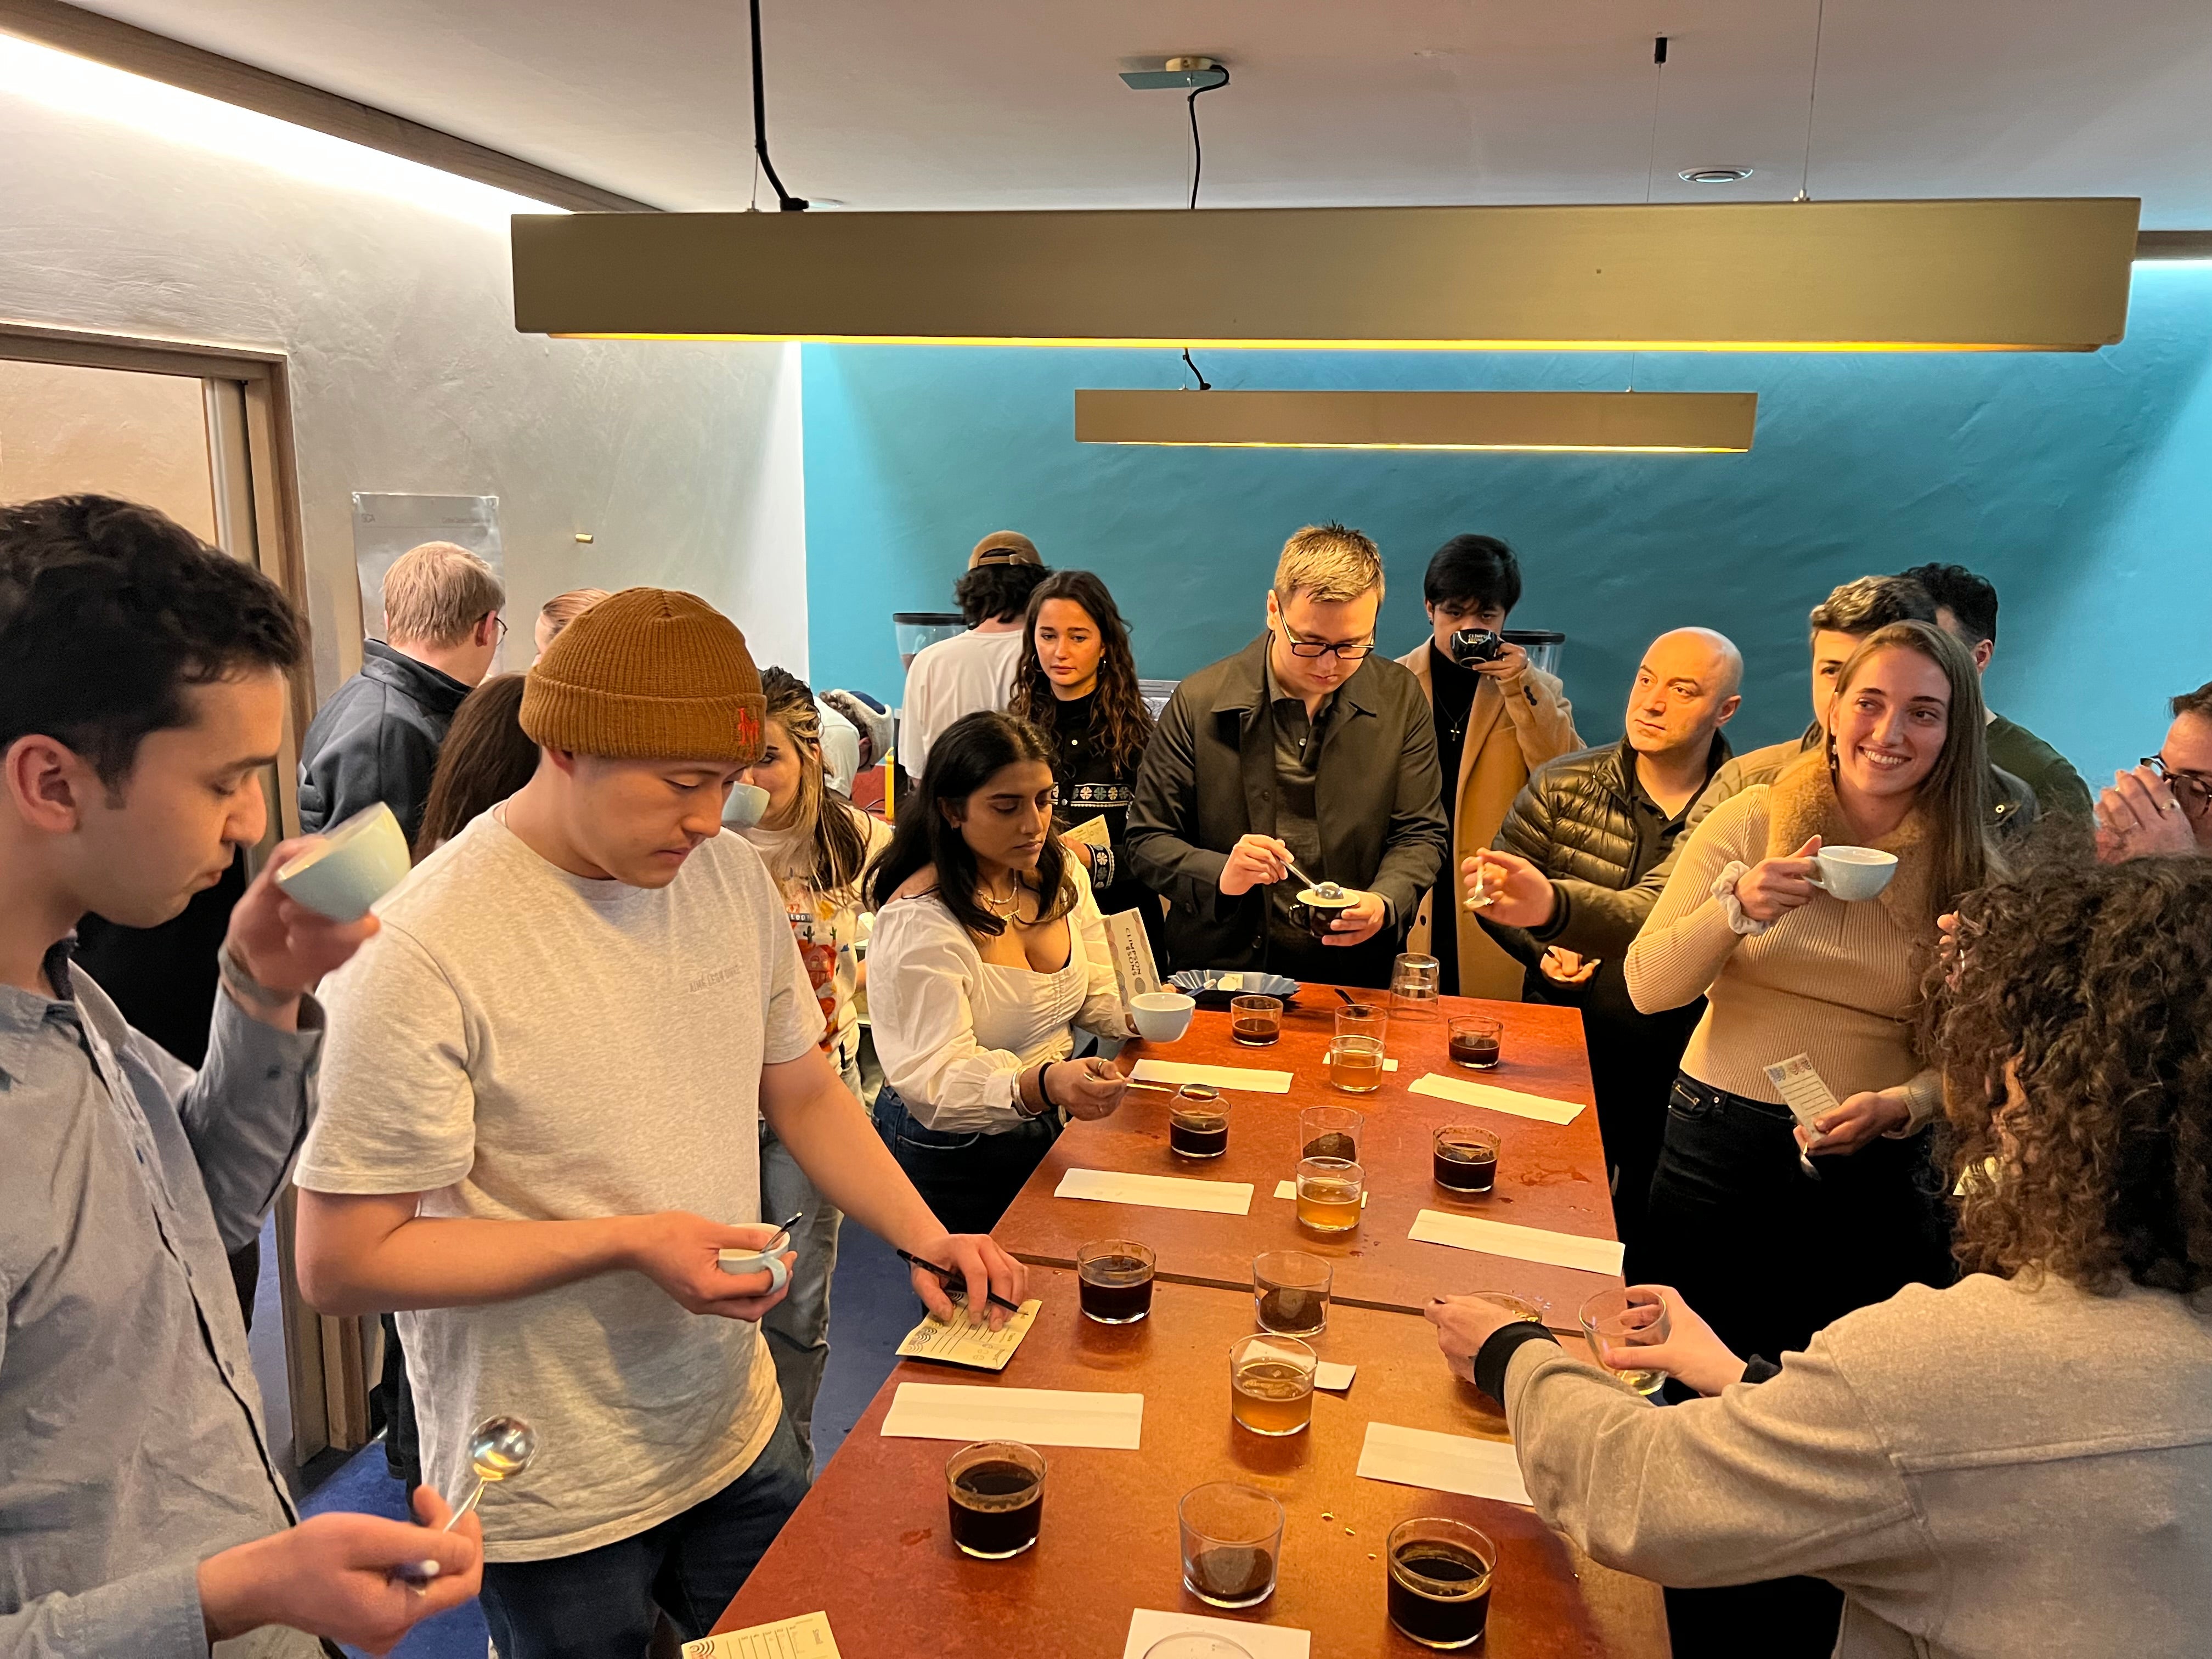
We’ve hosted a fair few cuppings in our time, through regular quality control tests at our roastery to our well-established monthly Cupping Club. Here we share our expert tips on how to host your very own cupping and taste for yourself. Whether you’re a cafe owner, barista or curious home brewer, a journey in flavour awaits.
Choose Your Coffees
Think about what you’re cupping and why. Maybe you’re looking to compare different varieties from the same region, or a similar coffee roasted to varying profiles. Maybe you’re trying to suss out a coffee to serve for your next batch brew, or perhaps trying your favourite coffees side by side to learn what flavours you love and help find more coffees to suit your taste buds. Having a theme in mind for the cupping ahead will help in the tasting process and give a clear narrative for you to communicate to those cupping alongside you.

Think about arranging your coffees to start with the most neutral flavour profiles and ending with any funky coffees that zap. This way your palate can build up to the more wild notes as you go.
Gather Your Equipment
Here’s everything you will need to get cupping. It’s best to get all your kit lined up and ready before you begin.
- Cupping Spoons
- Cupping Bowls
- Kettles with a Big Spout (... put the gooseneck away for this one!)
- Coffees
- Timer
- Scales
- Grinder
- Filtered water
- Spittoons (... essential when cupping several different coffees to avoid the dreaded over-caffeination)
Set Up Your Cupping
A well executed cupping is all about the timing, and preparation is key. Recruit a friend to be in charge of the timer, so you can focus on pouring and preparing the coffees. If you’re hosting a cupping for a group, you might want to practise ahead of time and get that skimming technique on point before showcasing your skills to others. Or use it as a chance to practise with the group.

Top tip, if you have a larger group or some thirsty cuppers, think about having two (or three) bowls of the same coffee, that way you won’t run out before everyone has gotten around to tasting.
- Weigh out 12g of each sample you wish to taste. We’ll be using 10.5g for each sample but you’ll lose a little in the grinding.
- Start to boil enough filtered water to pour onto each sample. We’ll be using 175ml/g of water for each sample, so if you’re cupping 4 coffees you’ll need at least 700ml/g.
- Grind each sample on a semi-coarse grinder setting. Think slightly finer than a filter grind, in order to extract as much as possible.
- Once the water has boiled you can begin to pour onto the samples. Start the timer and pour 175ml/g on each sample. Pour a little faster than you would when brewing a V60 and agitate as you pour to ensure all the grinds are immersed in water.
- Once you have finished pouring all the samples, wait until the timer hits the 4 minute mark. Now it’s time to break the crust. Using a cupping spoon stir the coffee three times ensuring you brush the bottom of the cupping bowl with the spoon. Repeat with the bowl and be sure to rinse the spoon between coffees.
- After you’ve broken every crust, you can scoop off the residue sitting on the coffee. Use two cupping spoons to gently skim the surface removing the particles on the top layer.
- Now wait until the coffee is cool enough to sample, usually at 10 minutes, then cup, cup away!
Tasting Tips
After all the technical setup is done we can get to the business of why we’re really here, to taste coffee. The process of coffee tasting involves observing both the tastes and aromas of brewed coffee. It’s a tricky business, and we spend a lot of time at the roastery training to do this. Here are some things to look out for:
Aroma/Fragrance: Start by smelling the coffee. Is it intense or mild?
Body: Think about the tactile feeling of the liquid in the mouth. Can you perceive any thickness or thinness in the coffee?
Mouthfeel: A little more complex now. Is the texture creamy? Buttery? Oily? Watery? What does it remind you of?
Acidity: You might find an immediate bright, tangy quality, similar to the first bite of an apple. Often described as ‘brightness’ when favourable and ‘sour’ when not, acidity contributes to a coffee’s liveliness. Think of a scale between citrus and berry.
Flavour: Represents the mid-range notes. These can fall into categories including nuts, chocolate, caramel, fruit, earth, spice, herbs and flowers. Once you have established your flavour category, for example ‘fruity’ see if you can specify further, is it citrus? Stonefruit? Berry?
Finish: These are the flavours that linger after you swallow. At this point new flavours can be revealed that weren’t so obvious the first time.
Temperature: It’s important to note that flavours can change and develop at different temperatures. It’s worth tasting your table again, and again as the coffees cool to see if anything becomes more apparent as the coffees cool. If you taste a cool coffee and its still tasting amazing, that is a good sign for a beautifully complex coffee

Whether it’s your first or 1000th cupping it’s important to know that there really are no wrong answers. Taste is personal and our palette is as unique as ourselves. You might surprise yourself with the flavours you find.
You can kick start your tasting journey with our Ultimate Climpson’s Cupping Box or head to our events page to join us for our next edition of Cupping Club.


